- Zenith Optimization Packages
- >
- Nose Gear Shock Preload Adjuster Upgrade - NEW!!!
Nose Gear Shock Preload Adjuster Upgrade - NEW!!!
SKU:
$547.68
$489.00
$489.00
Unavailable
per item
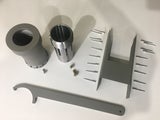
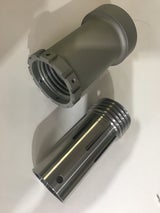
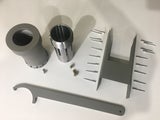
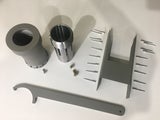
These complex and highly engineered parts have a durable Cerekote for long-lasting protection.
Easy one-man installation and adjustment.
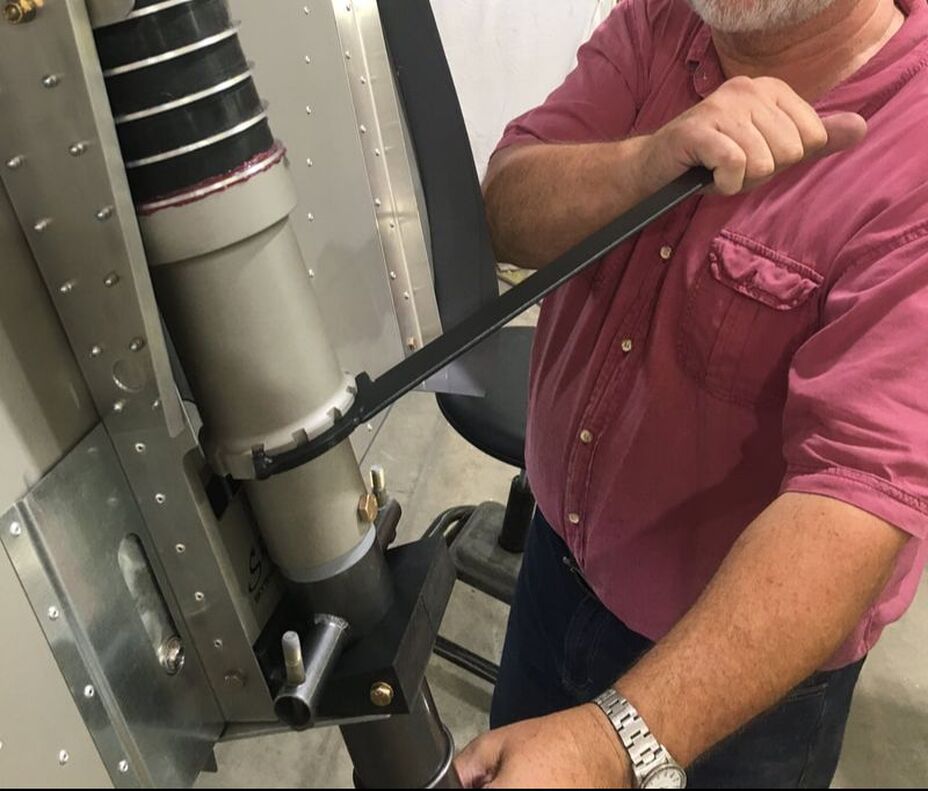
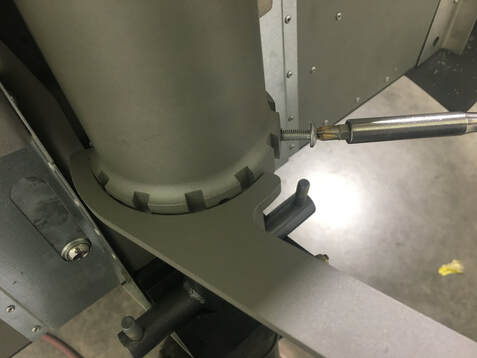
Adjustment can be done on the fly with the included easy adjustment wrench.
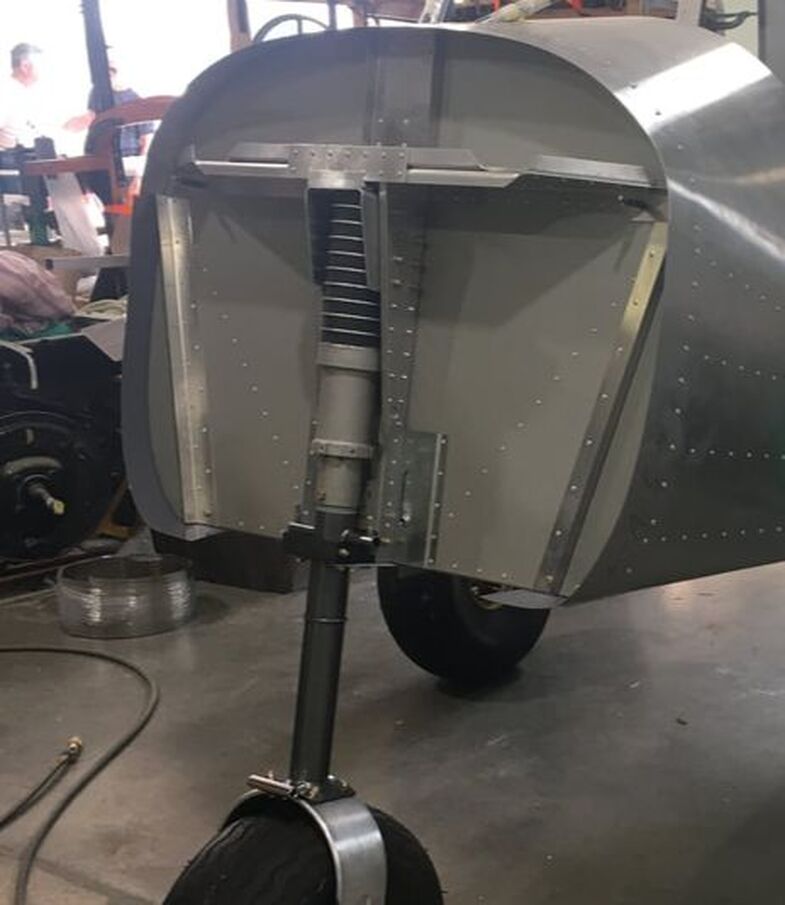
Can accept up to 11 rubber shock disks for even greater engine weight capability's.
Includes upgraded steel center firewall doubler for added strength and clearance (replaces Zenith part #75F9-5)
Buy now to take advantage of this introductory sale offer!
Installation Instructions:
Step 1:
Install the included steel center firewall doubler as per Zenith's installation instructions for part number 75F9-5 as found in Zenith's Firewall Assembly Section 75-FA-5, 12 of 18 (top photo only).
Step 2:
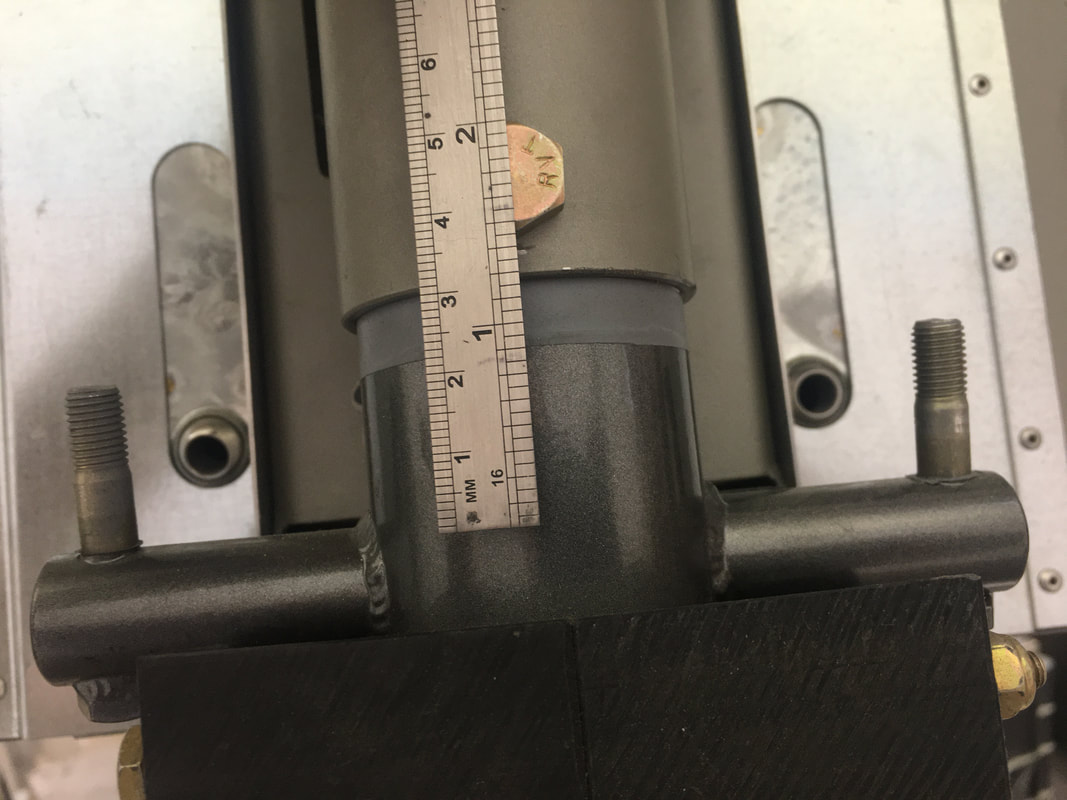
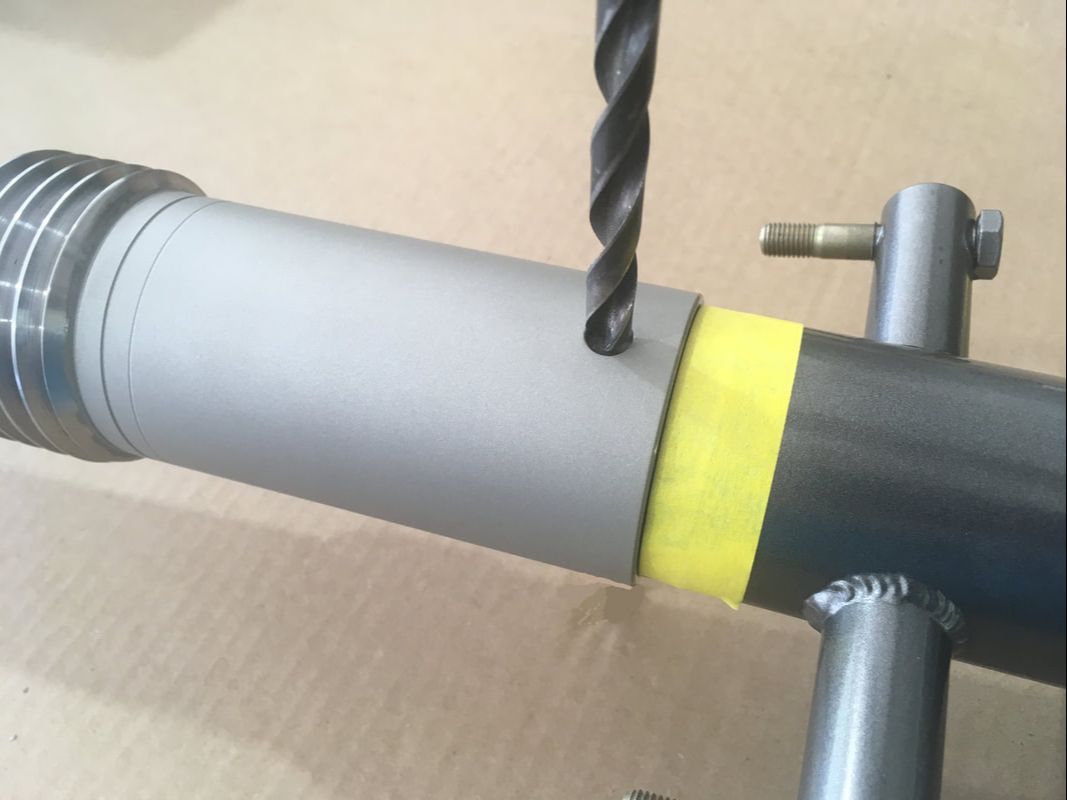
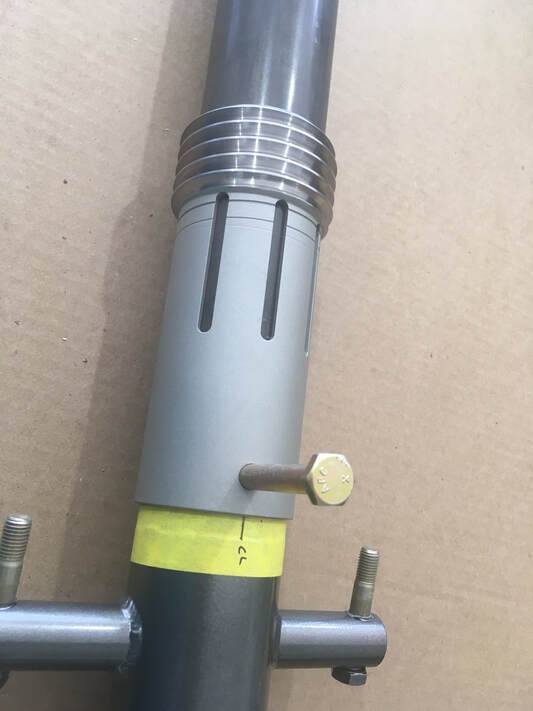
Drill a 5/16" hole on the forward side of the nose gear leg 1 3/4" up from the top surface of the steering bar as shown in the photo. Drill through the forward side only (do not go completely through the nose gear leg backside).
Step 3:
Step 3:
Heavily grease both the inside of the adjustment nut and the male threaded inner adjustment locking sleeve.
Thread the adjustment nut all the way down to the bottom and install the Zenith supplied spacers and rubber shock disks. We highly recommend applying DOW CORNING #4 silicone lubricating compound to each rubber shock disks during assembly. Complete nose gear to firewall installation with upper stop, rear angle, and front angle as per Zenith's instructions (Shock-01 Drawing).
Then, using the supplied adjustment wrench, tighten the adjustment nut to the desired tension. Once satisfied, insert screw into adjustment nut being sure to align with a locking slot in the male inner adjustment locking sleeve.
Did you like this product? We'd love it if you'd give it a rating on our store!


