
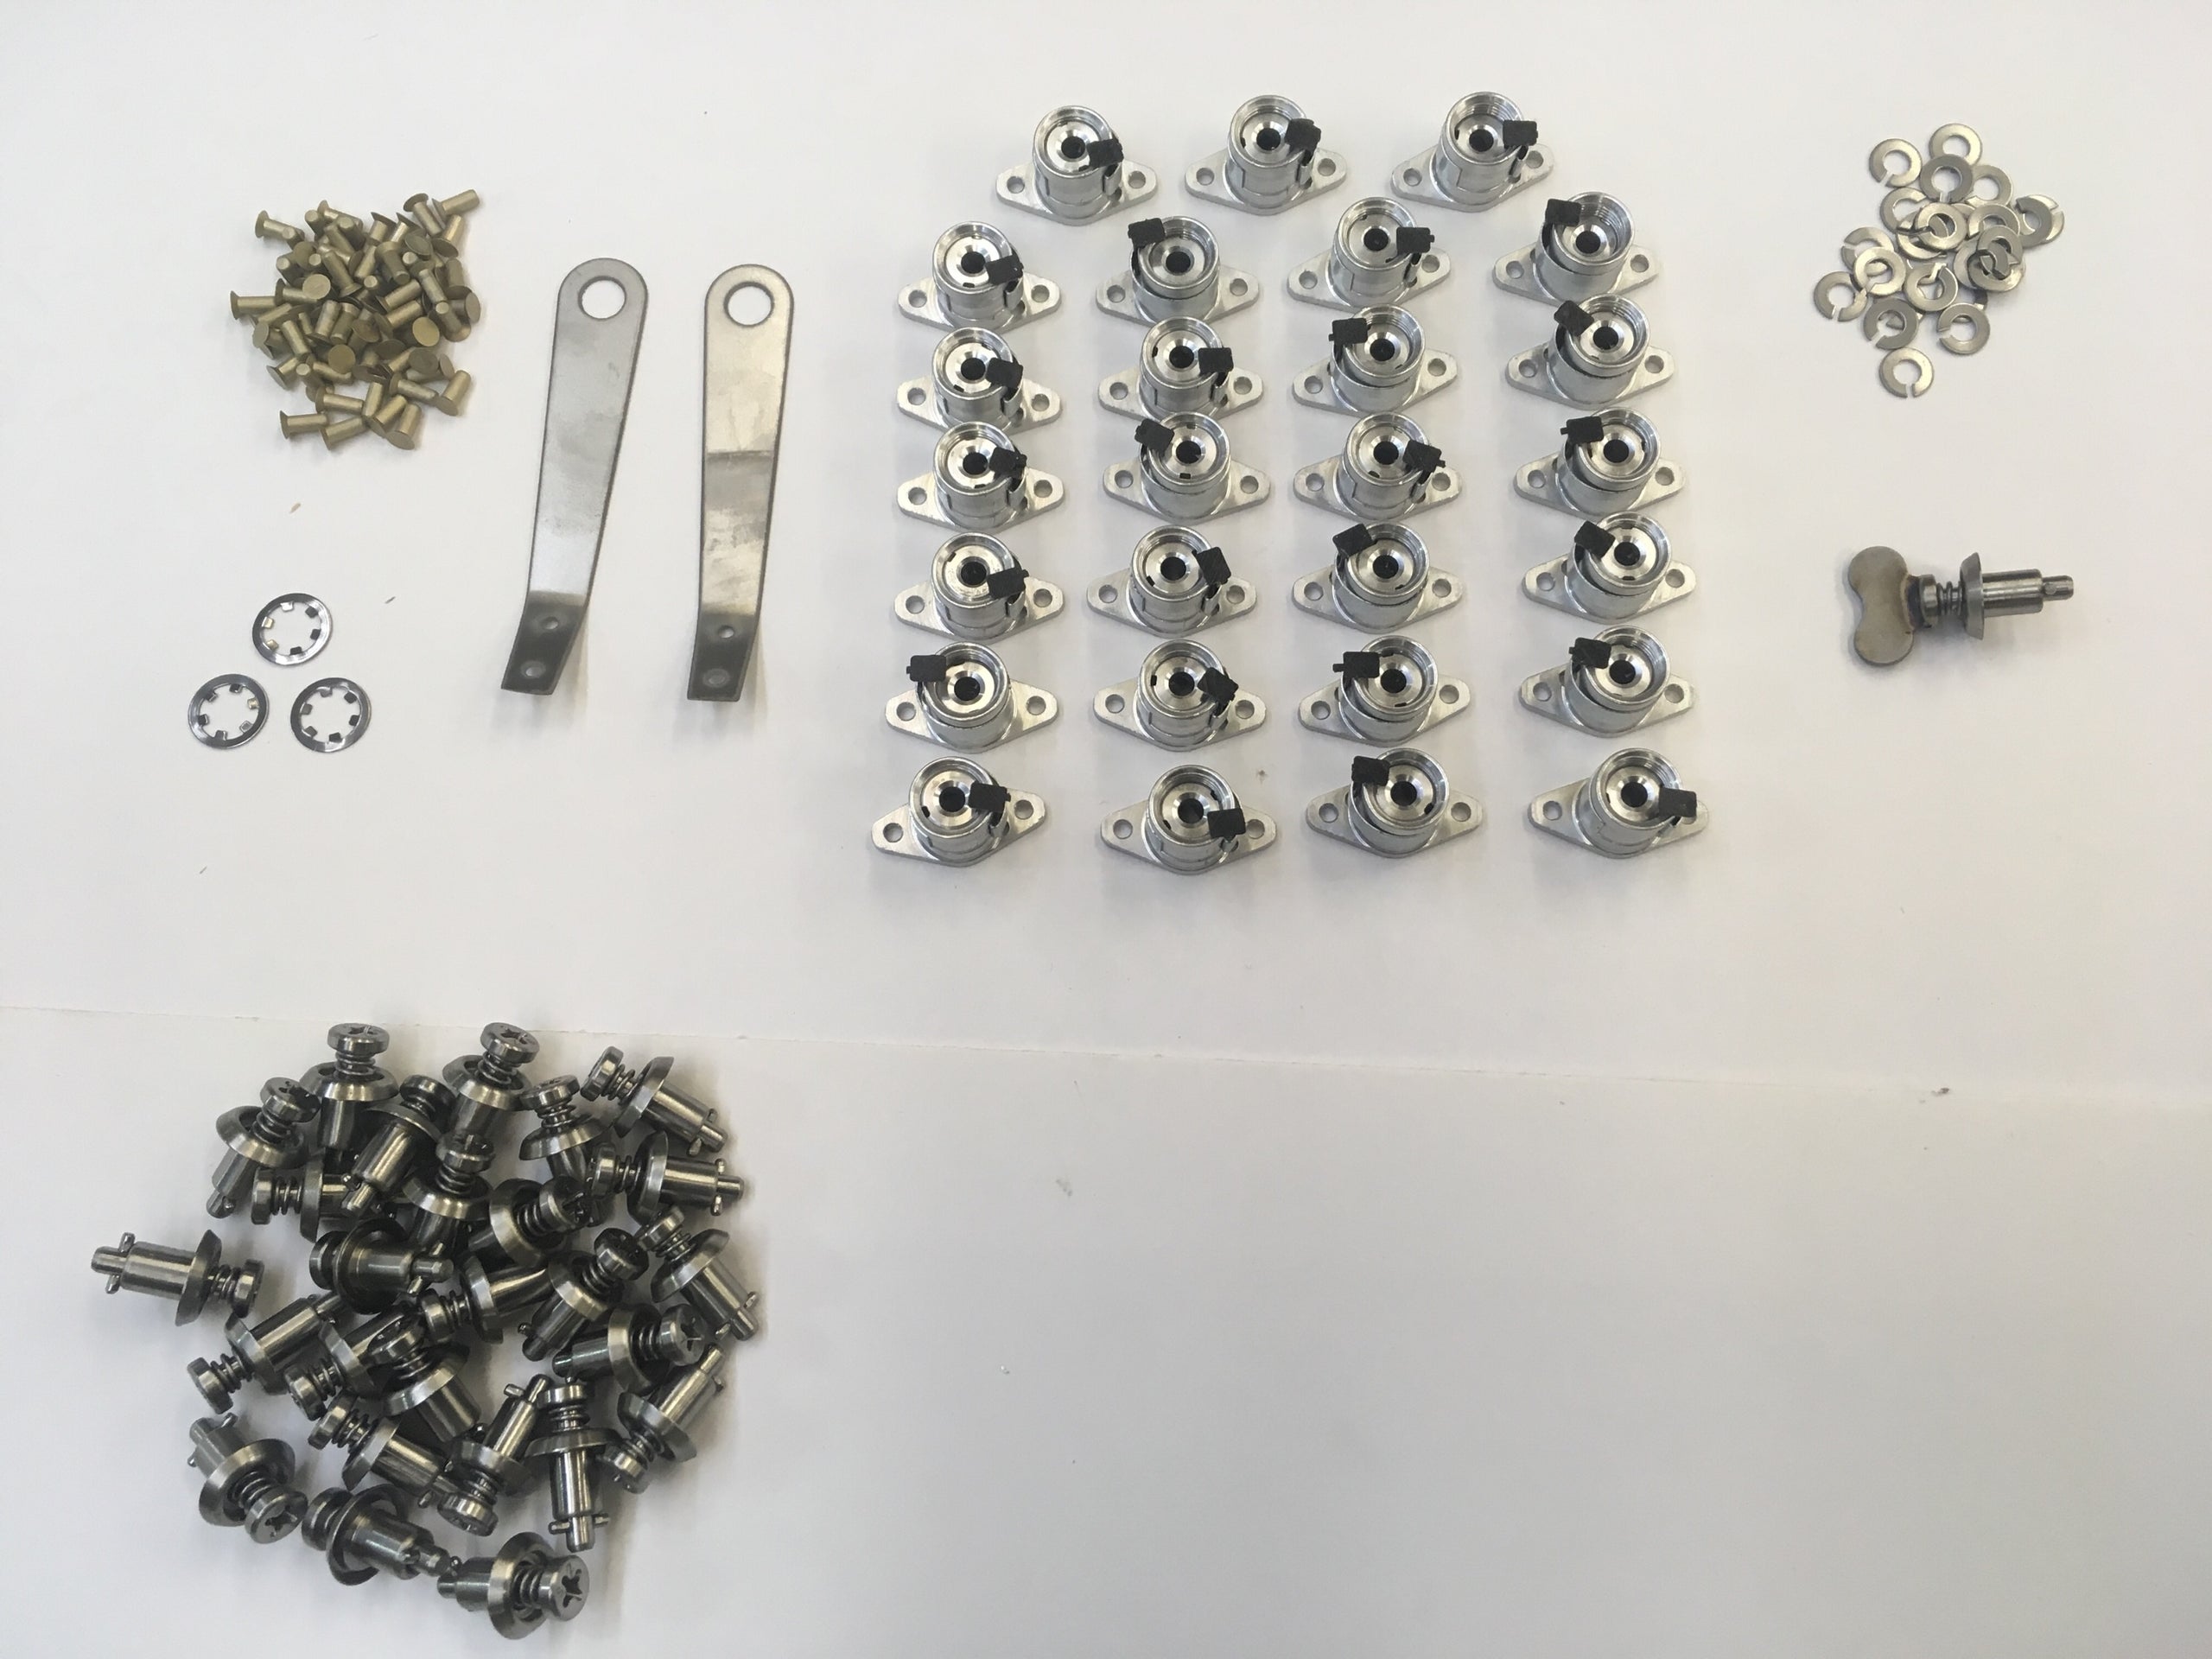

1/4 Turn Skybolt Cowling Fastener and Ejector Kit
SKU:
SA 40K
$389.48
$389.48
per item
This Sky-bolt Cowling Fastener Kit is great for if you just want to pop off your cowling quickly! With a quarter of a turn your cowling will be off and you will be inspecting your Rotax 912iS or other Rotax Engine! No more unscrewing for hours! This kit now includes our Skybolt Ejector Kit.
Installation Instructions:
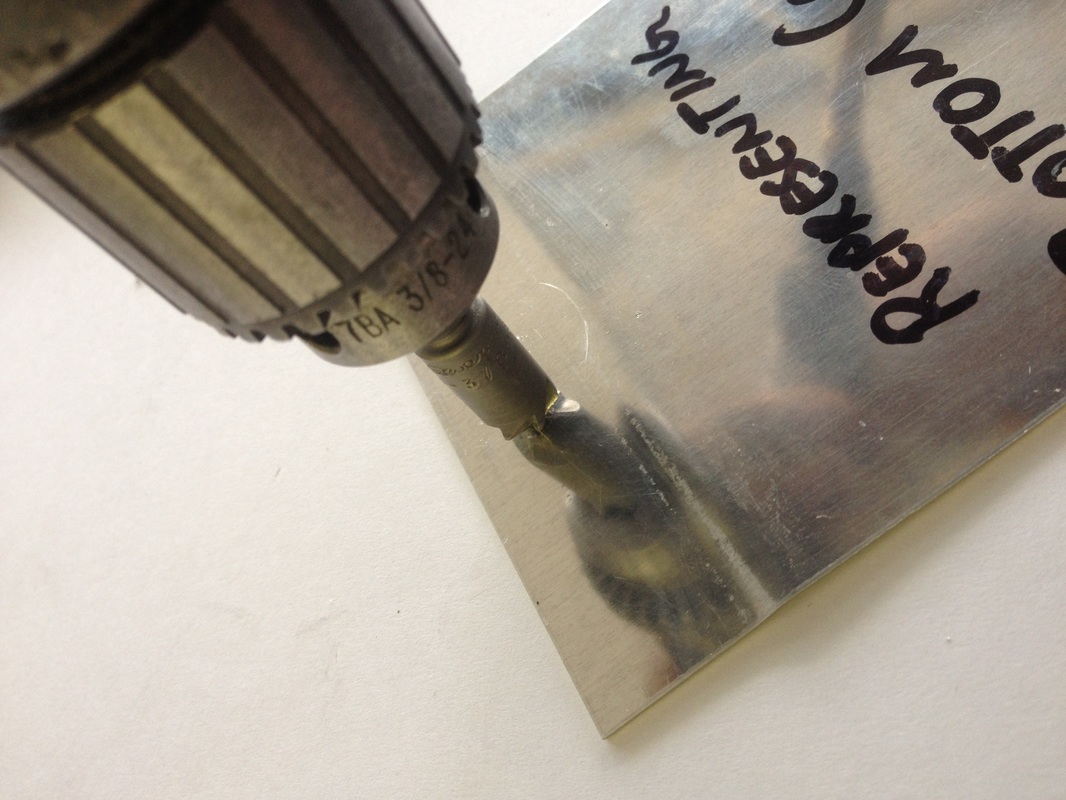
Step 1:
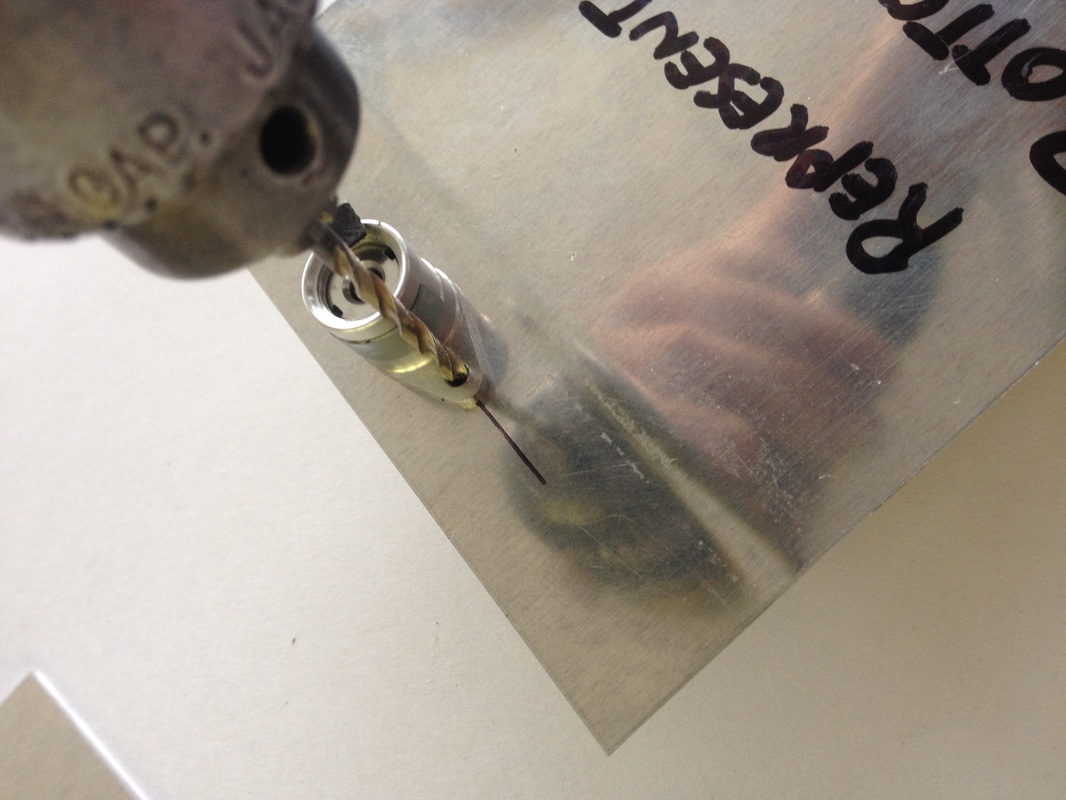
Mark and pilot drill (A). Then upsize (B).
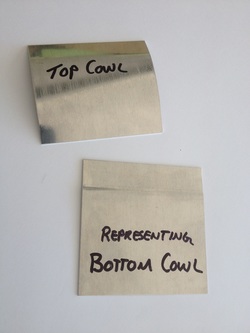
Fiberglass or metal cowling to be fastened together.
|
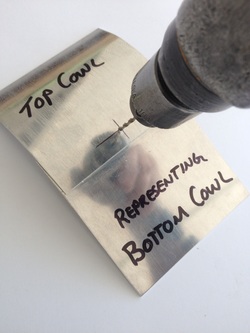
A
Pilot drill through both the top and bottom cowl (verify receptacle location).
|
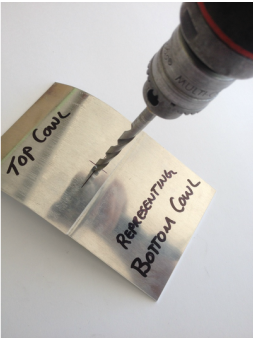
B
Upsize both cowls to a 1/4" drill bit.
|
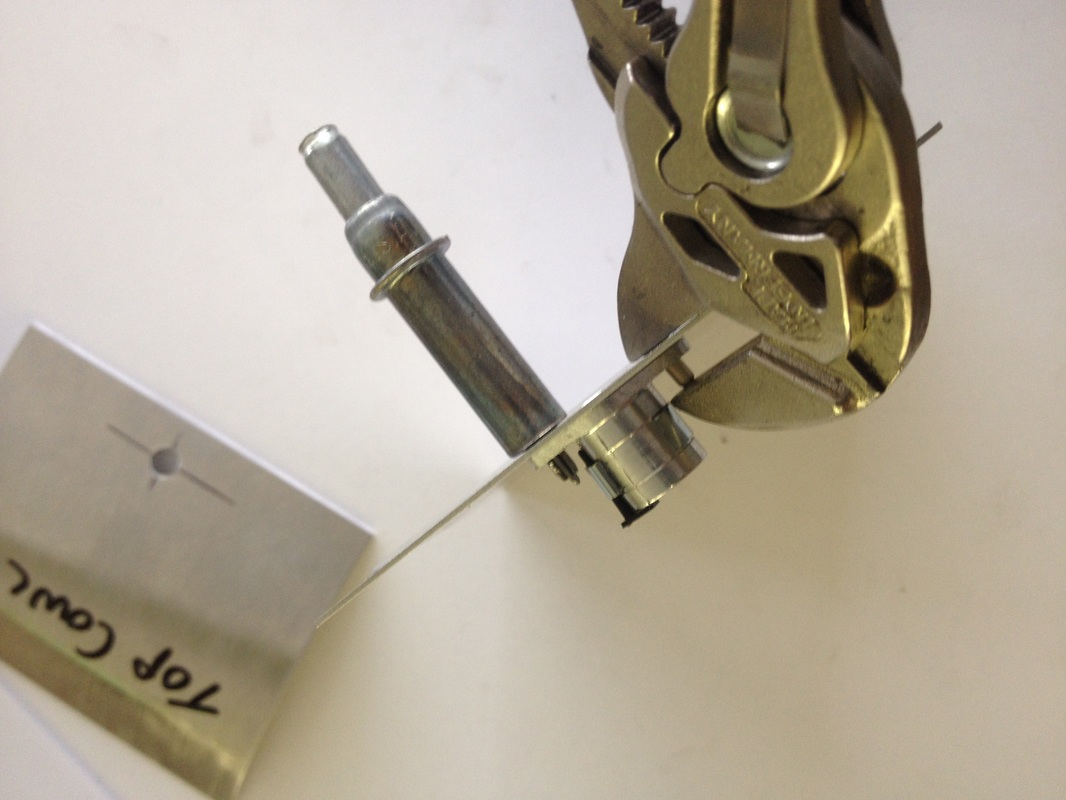
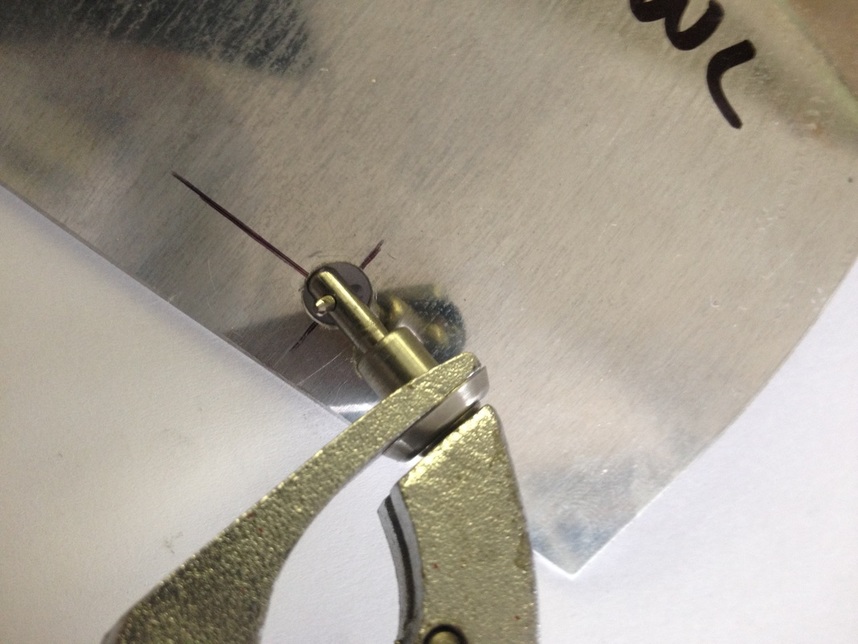
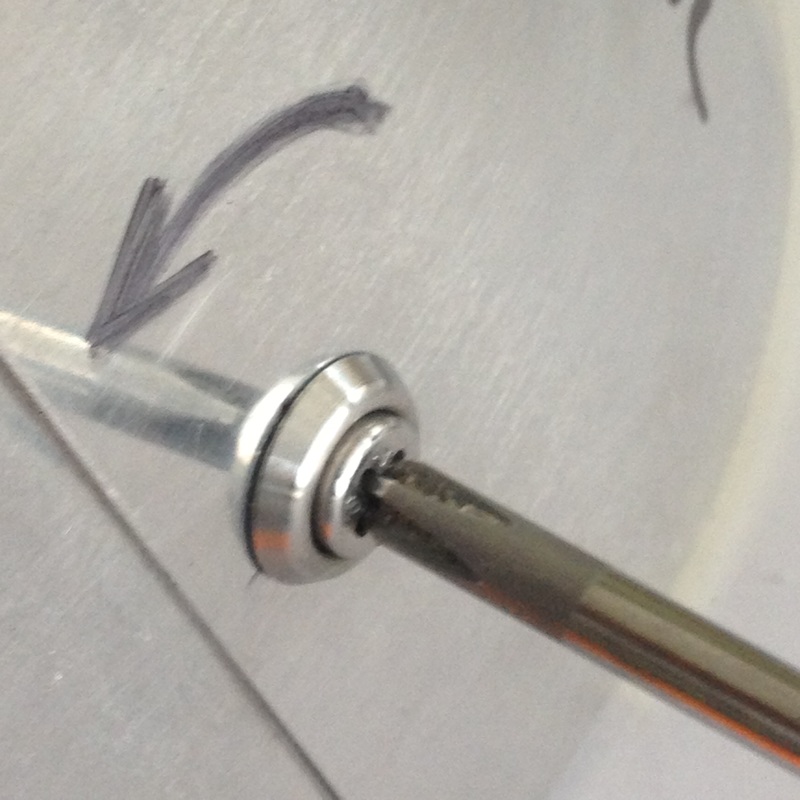
Step 2:
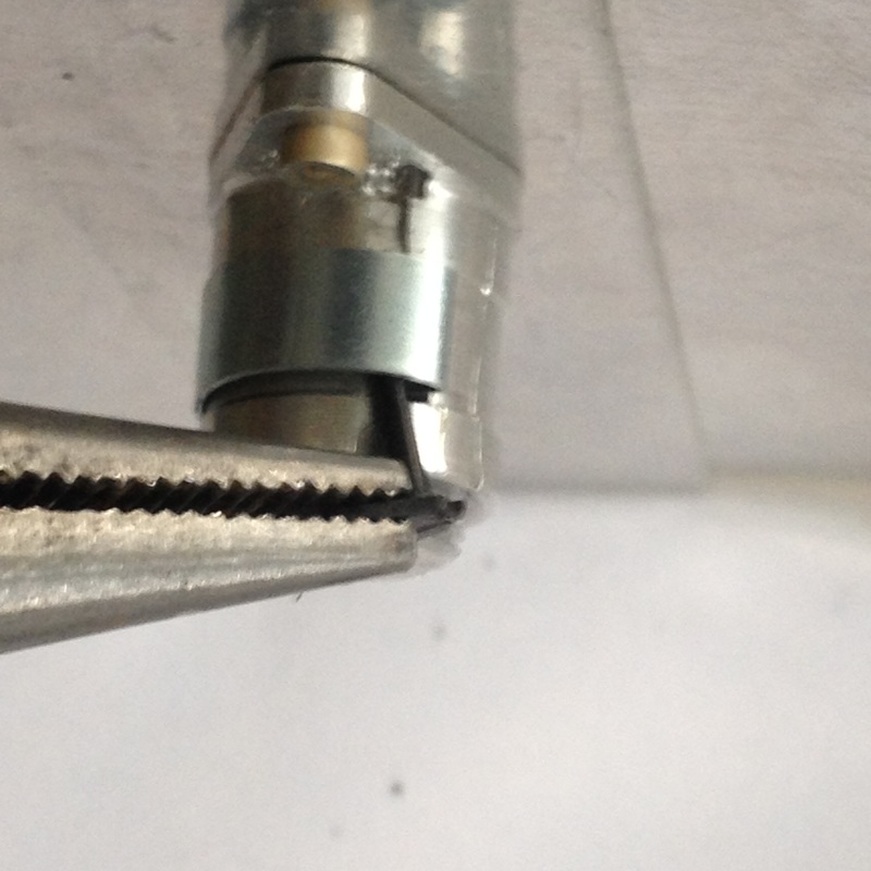
Squeeze Skybolt stud with a pair of pliers* and insert into the hole. Release the stud, and go to step 4.
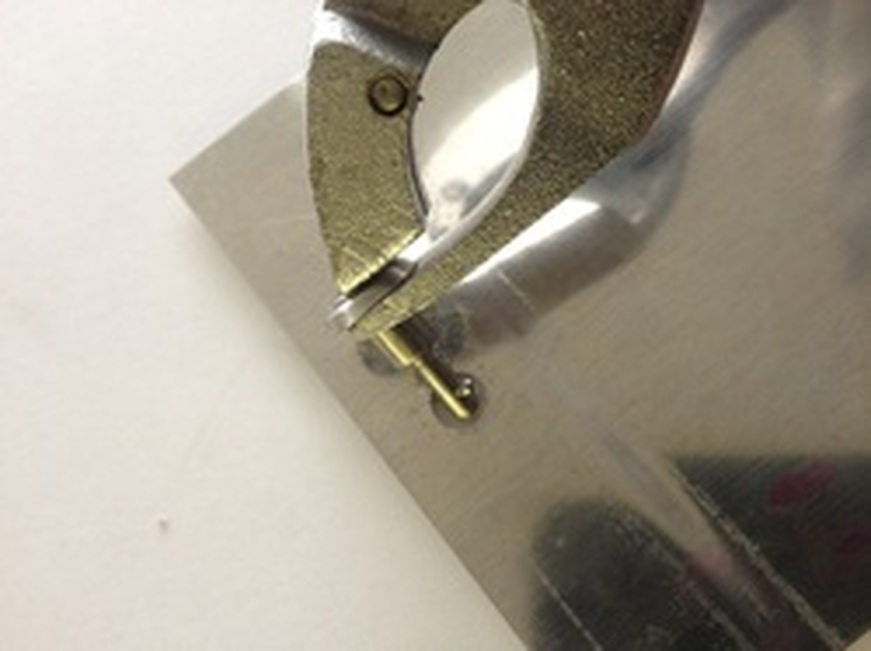
Step 3:
Layout orientation for receptacle and position locking device (black pin) so it is positioned for accessibility.
Drill #40 holes for riveting.
Deburr holes
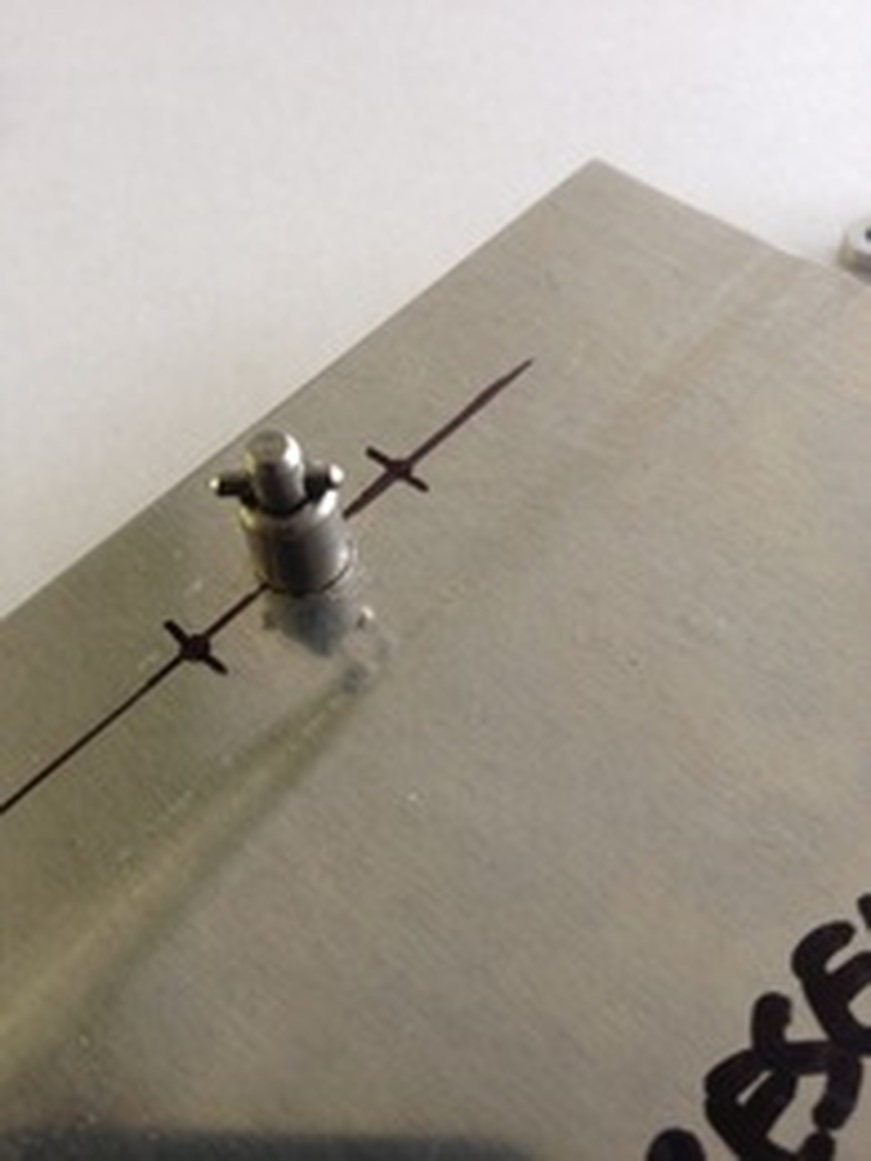
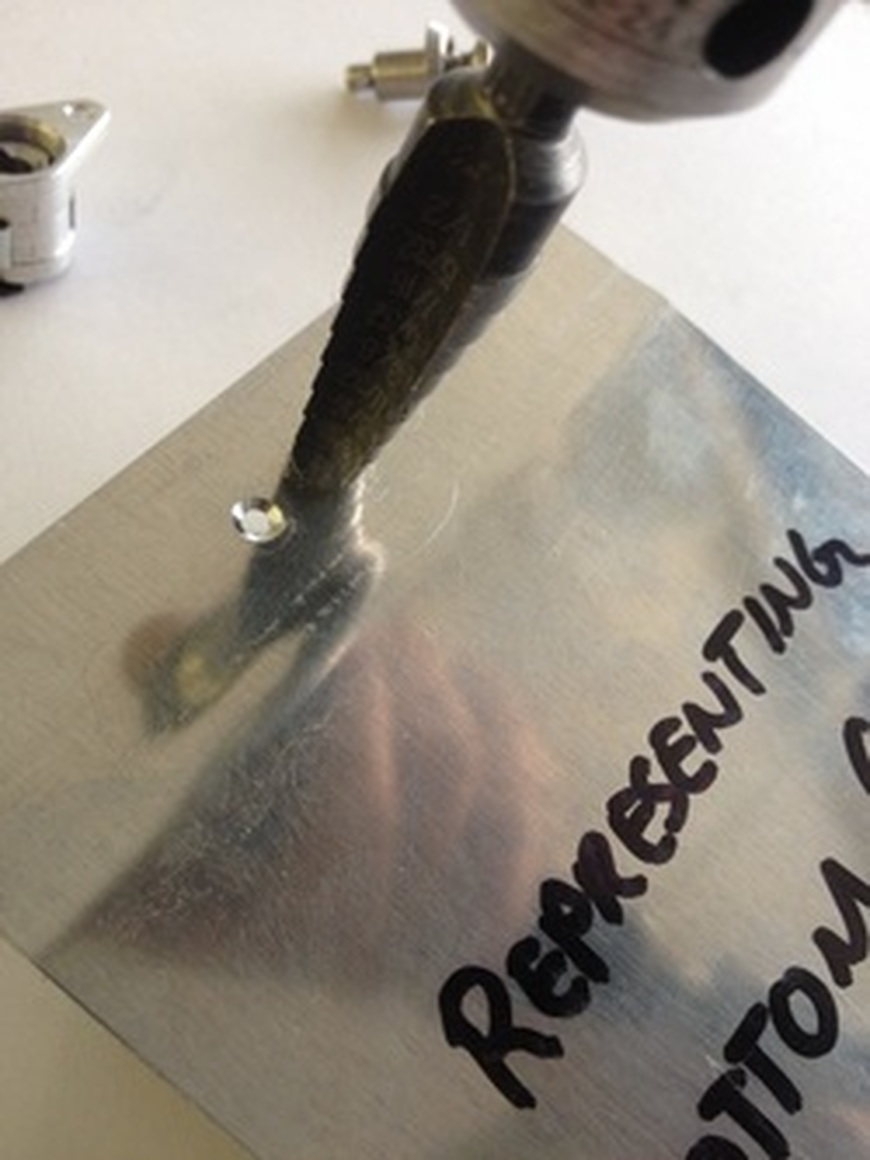
Step 4:
Countersink rivet holes for receptacle in bottom cowl.
Upsize center recieving hole in skin for receptacle to .375 dia.
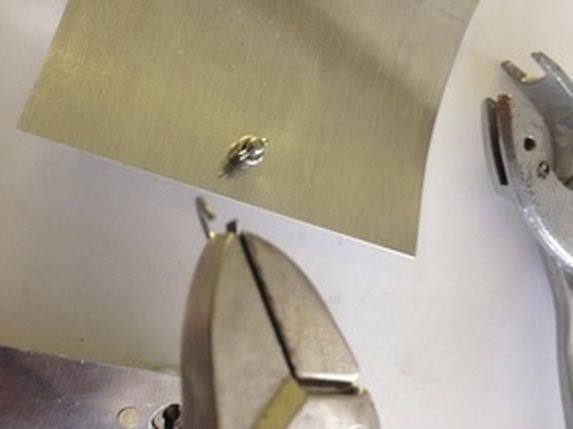
Step 5:
Rivet using AN 426 A 3- as required for fiberglass or use AD for metal.
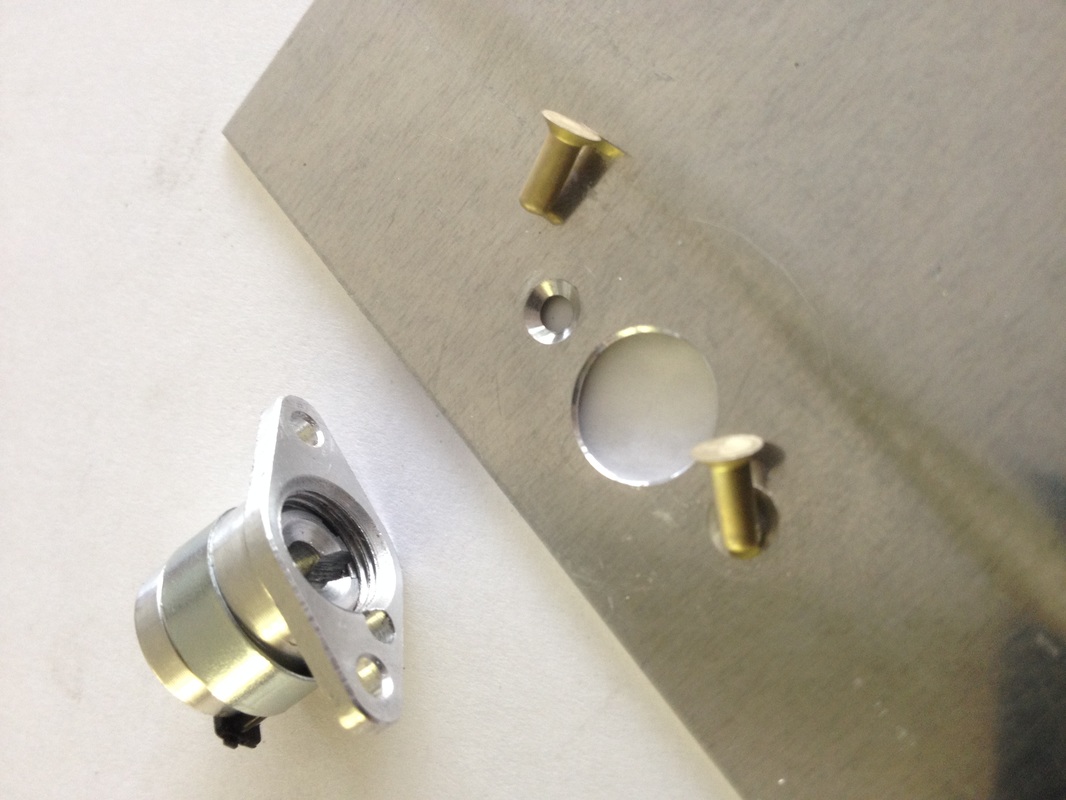
Rivet receptacle in place using a parallel jaw pliers.
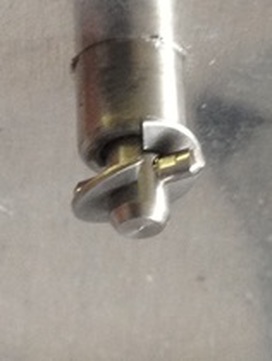
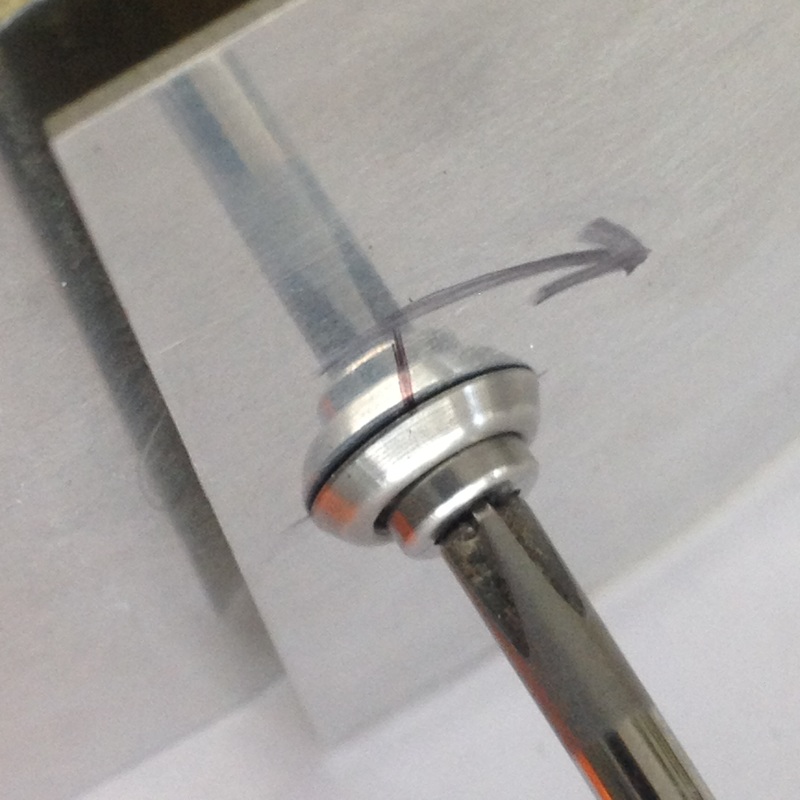
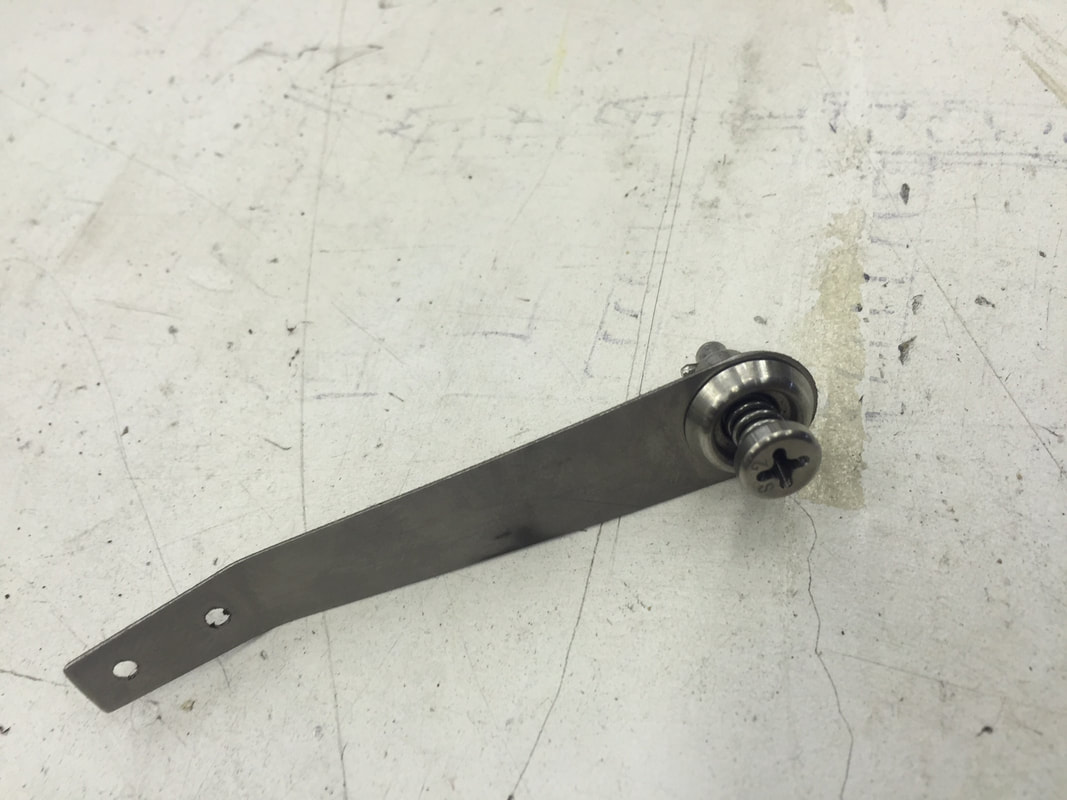
Step 6:
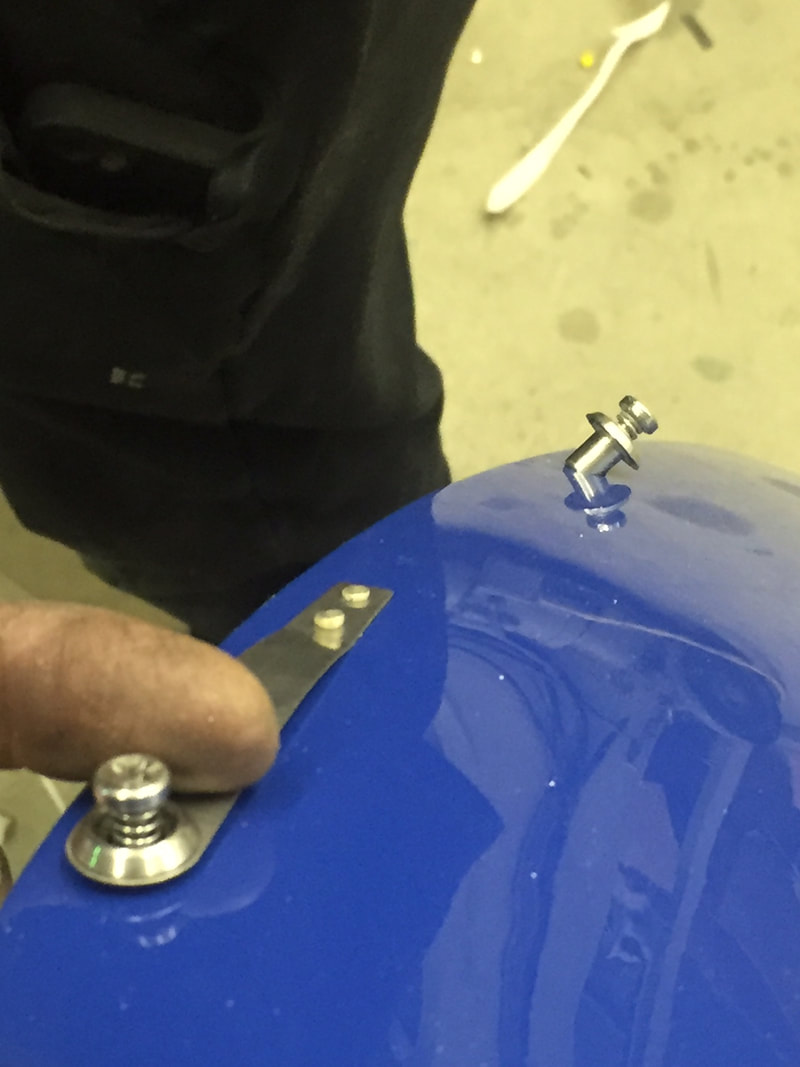
Squeeze and Install stud in top cowling.
Bend retaining ring and thread on stud.
|
|
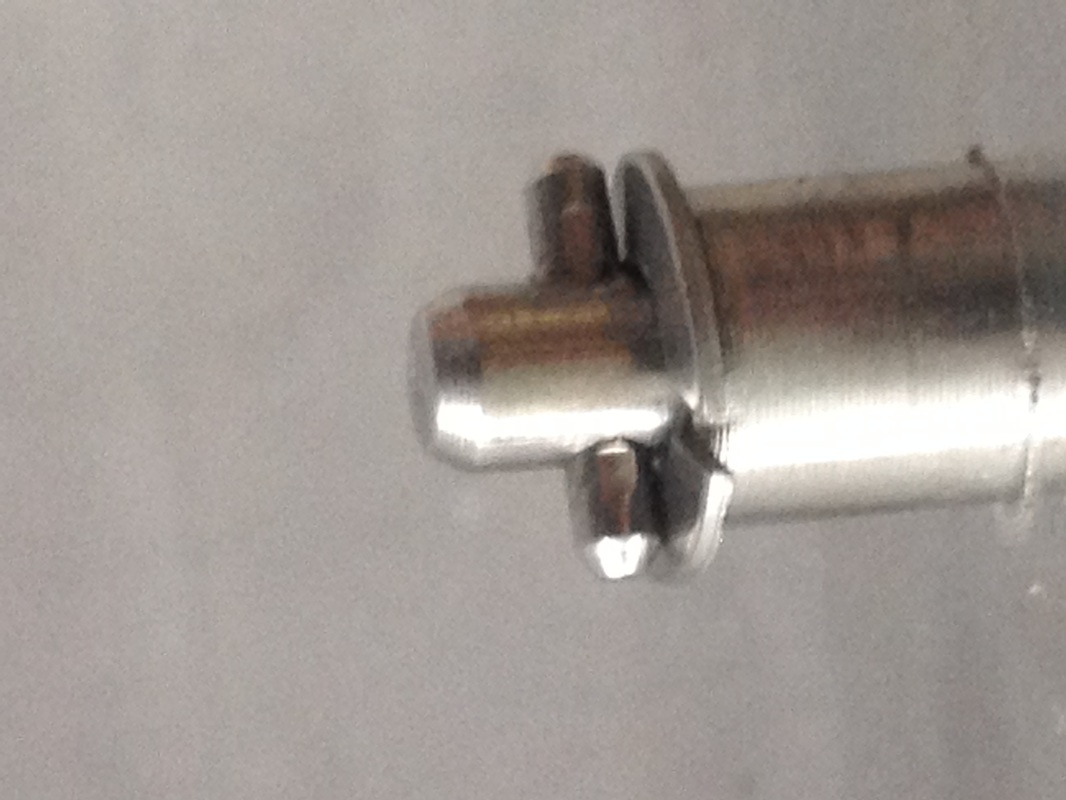
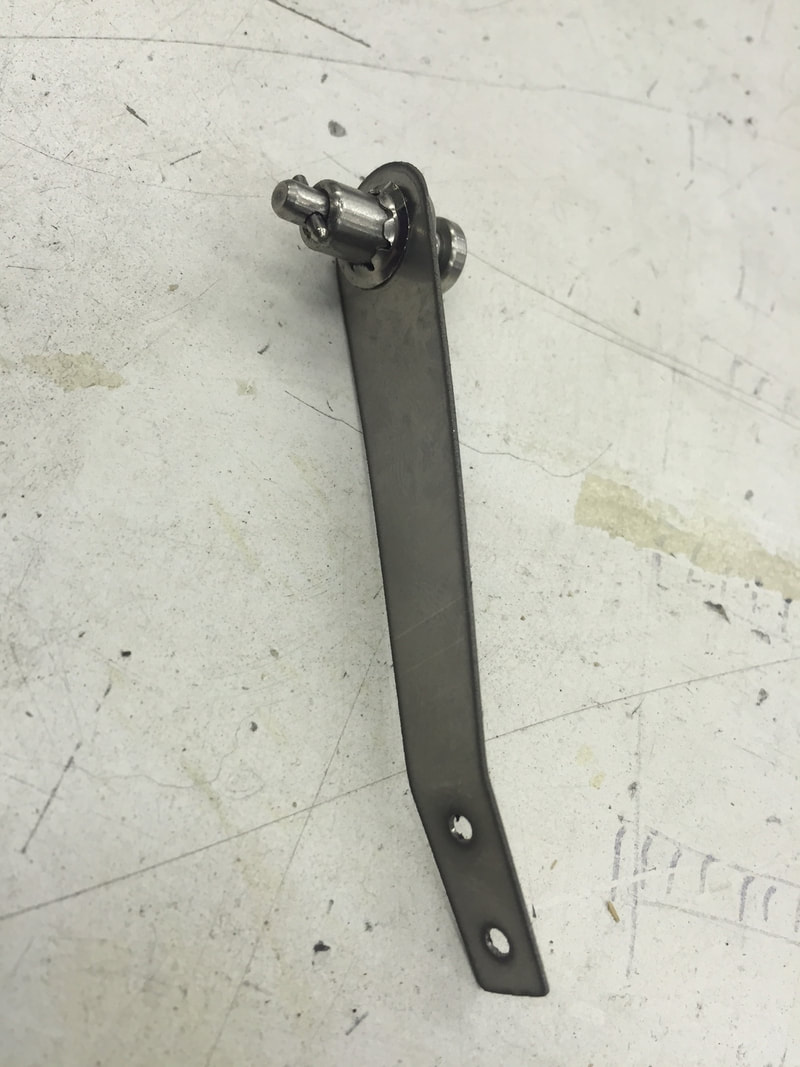
Step 7:
Flatten retaining ring:
Step 8:
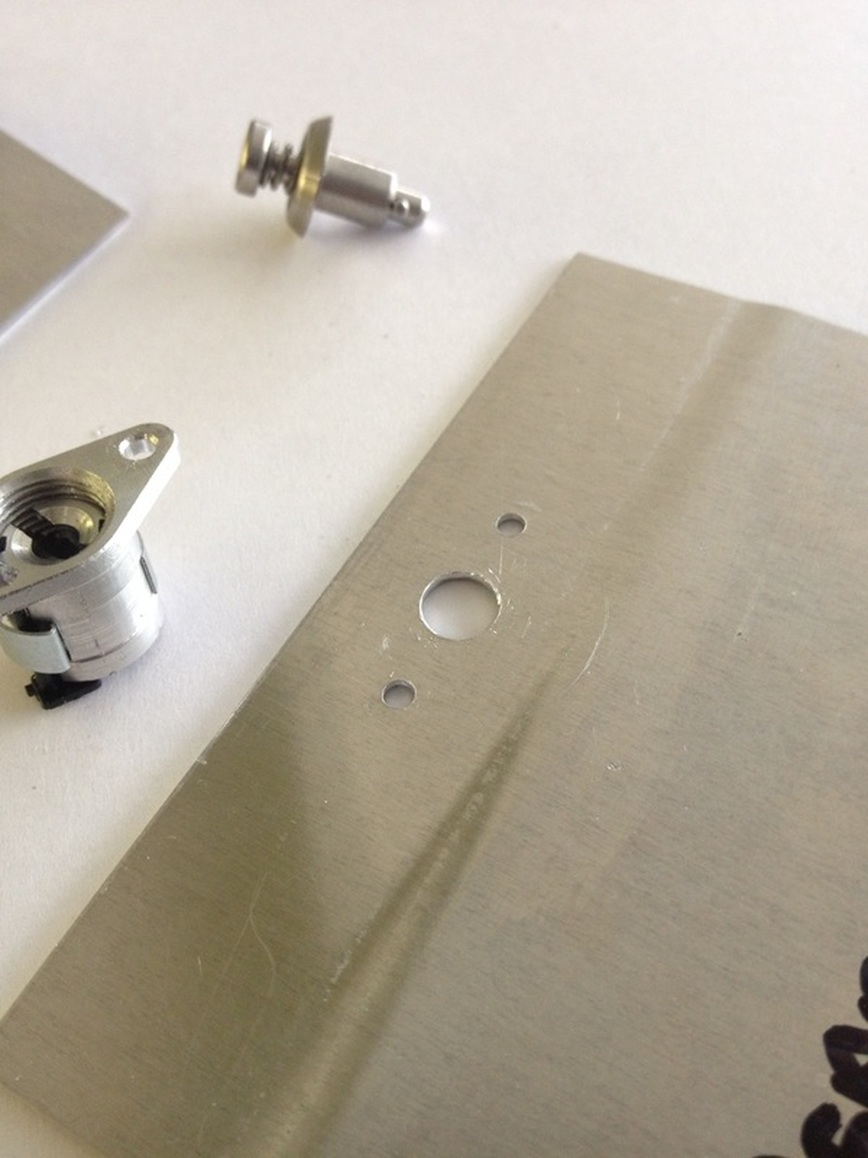
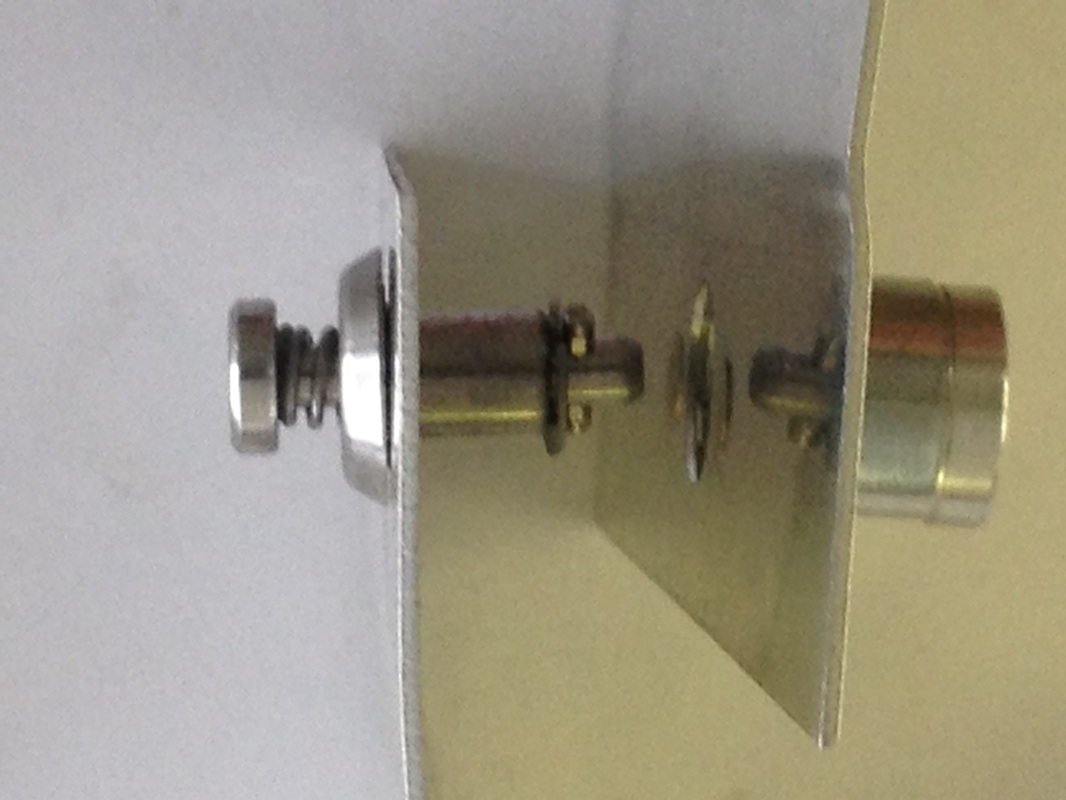
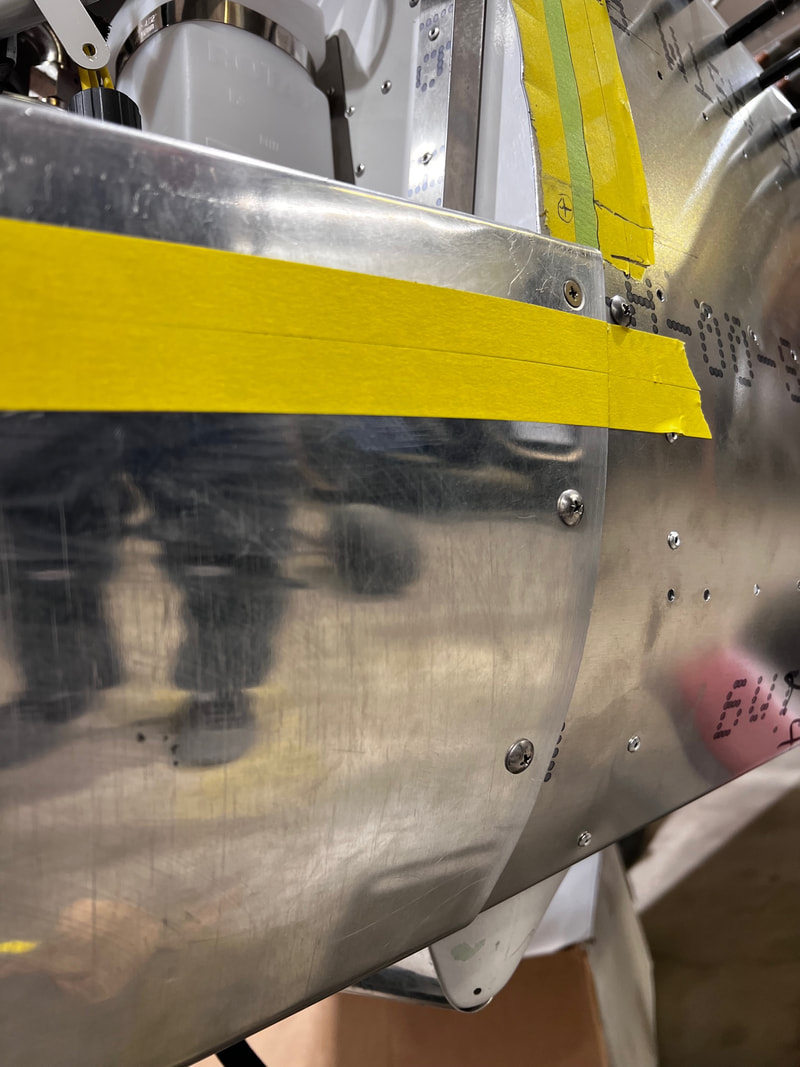
Install two pieces together.
|
|
Tighten by turning clockwise.
Be sure to have any chafe seal / rub strip prior to this step going forward.
Be sure to have any chafe seal / rub strip prior to this step going forward.
Completed
Adjustment:
Step A:
Once tight, back off one full turn.
Step B:
Remove anti-locking pin.
Step C:
Turn clockwise slowly until the snap ring clicks. You should feel it lock. Your fastener is now fully adjusted and ready for use.

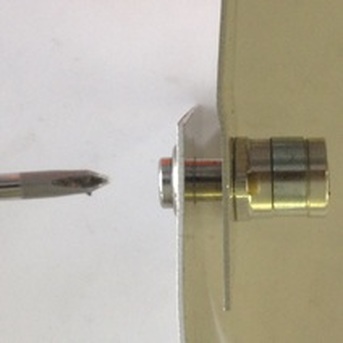
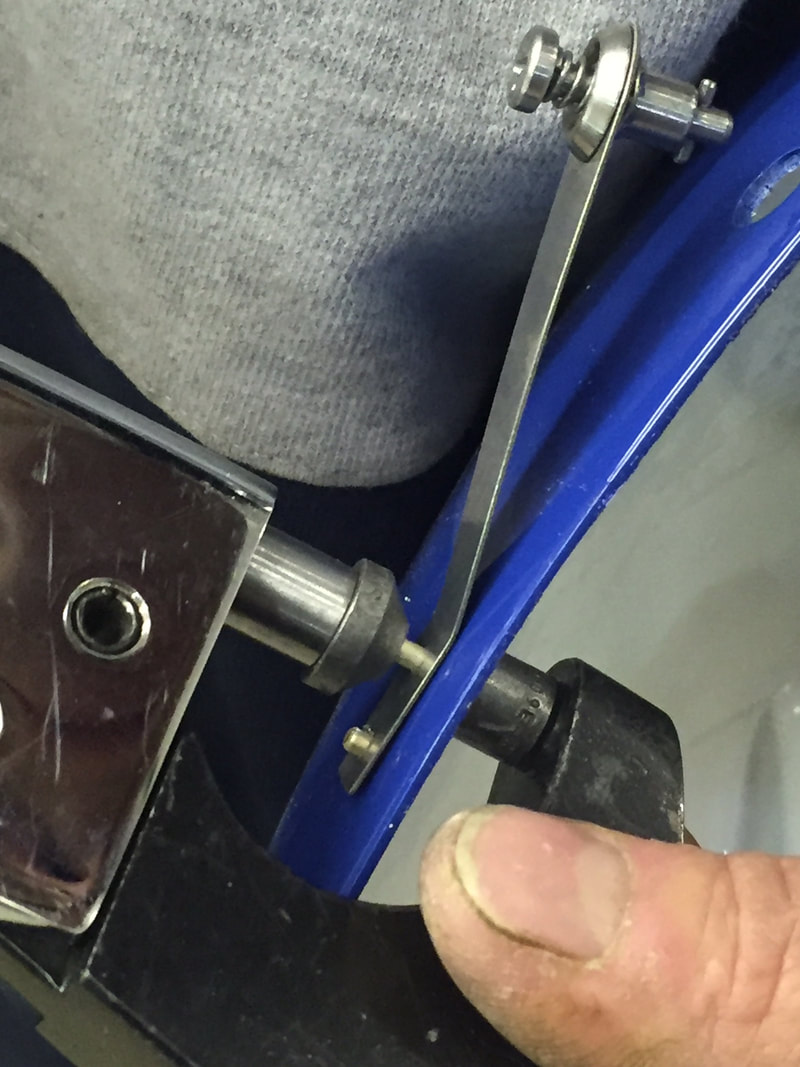
Skybolt Ejector Installation (for two front Skybolt mounts)
Drill hole for Skybolt in both cowlings. Install receptical in lower cowling. Assemble ejectors as shown below:
|
|
|
Push male Skybolt into the hole and push the ejector down to layout the two holes for attaching the ejector to the top cowling. Secure with the supplied rivets.
|
|
|
|